Setting Up a Private Server in Roblox: A Step-by-Step Guide for Programmers
Are you tired of dealing with lag and unreliable servers when playing games on Roblox? Do you want to have more control over your gaming experience? Then setting up a private server might be just what you need. In this guide, we’ll walk you through the process of setting up a private server in Roblox step-by-step, so you can enjoy your favorite games with minimal lag and maximum fun.
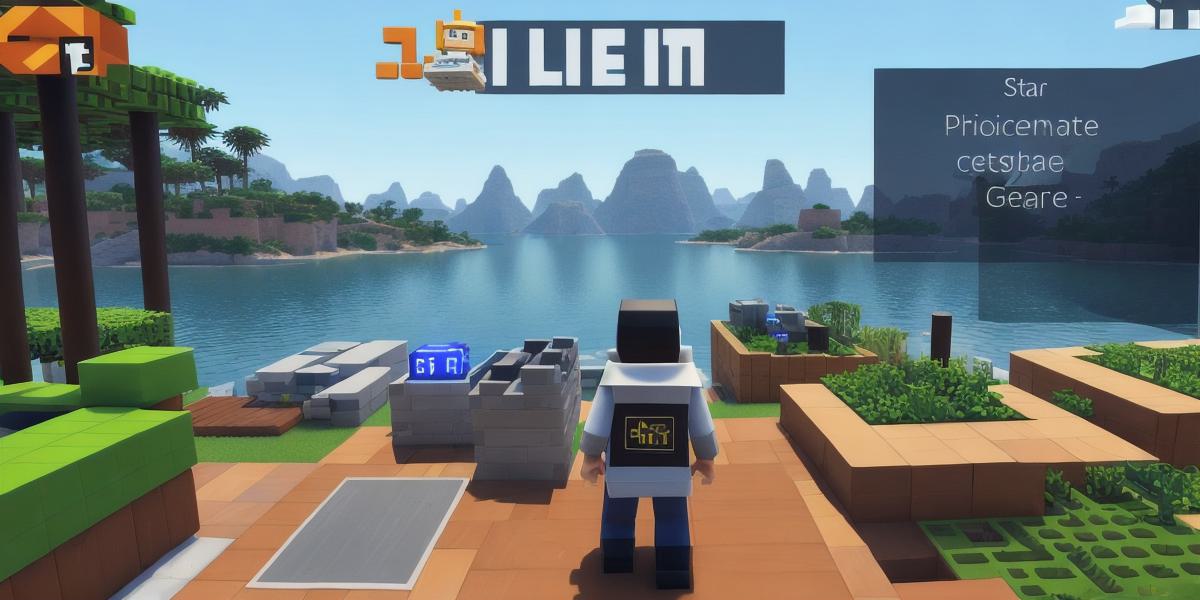
Before we dive into the technical aspects of setting up a private server, let’s first understand what it is. A private server is a dedicated server that hosts games for a specific group of players. It allows players to connect to a server that is optimized specifically for their needs, rather than connecting to a public server that may have high latency or be overloaded with players.
To set up a private server in Roblox, you’ll need to follow these steps:
Step 1: Create a New Place
The first step is to create a new place on Roblox. This will be the hub for your private server. To do this, go to the "Places" tab on the Roblox homepage and click "Create Place." Give your place a name and choose a category.
Step 2: Add Games
Once you’ve created your place, it’s time to add games. To do this, go to the "Games" tab in the Roblox studio and click "Add Game." Choose the game you want to host on your private server and click "Add."
Step 3: Configure Server Settings
The next step is to configure the server settings for your game. This includes things like max players, port number, and IP address. You’ll need to do this in the Roblox studio under the "Servers" tab of your game.
Step 4: Invite Players
Now that your private server is set up, it’s time to invite players to join. To do this, go to the "Players" tab in your place and click "Invite." You can either invite individual players or create a link that anyone can use to join your server.
Step 5: Start Playing!
Congratulations, you’ve successfully set up a private server in Roblox! Now it’s time to start playing games with minimal lag and maximum fun. To get started, simply click the "Join Game" button on your server and dive into your favorite game.
FAQs:
Q: What is a private server?
A: A private server is a dedicated server that hosts games for a specific group of players. It allows players to connect to a server that is optimized specifically for their needs, rather than connecting to a public server that may have high latency or be overloaded with players.
Q: How do I create a new place on Roblox?
A: To create a new place on Roblox, go to the "Places" tab on the Roblox homepage and click "Create Place." Give your place a name and choose a category.
Q: How do I add games to my private server?
A: To add games to your private server, go to the "Games" tab in the Roblox studio and click "Add Game." Choose the game you want to host on your private server and click "Add."
Q: How do I configure server settings for my game?
A: You can configure server settings for your game under the "Servers" tab of your game in the Roblox studio.
Q: How do I invite players to join my private server?
A: To invite players to join your private server, go to the "Players" tab in your place and click "Invite." You can either invite individual players or create a link that anyone can use to join your server.
You May Also Like


More From Author

ServReality Brings Next-Gen Gaming Experiences to Apple Devices
January 23, 2026


The Top 25 Diamond and Pearl Pokémon
August 5, 2024


