How to Build AR VR Apps: A Comprehensive Guide for ARKit Developers

AR and VR technology has come a long way since its inception, and it’s now becoming increasingly popular among businesses of all sizes. As an ARKit developer, you may be interested in building AR and VR apps to take advantage of this growing trend. However, building these apps can be a daunting task, especially if you’re new to the technology. In this article, we will provide a comprehensive guide for ARKit developers on how to build AR and VR apps that are both engaging and effective in driving business growth.
Introduction
Before we dive into the specifics of building AR and VR apps, it’s important to understand the basics of what these technologies are and why they’re becoming so popular. AR (Augmented Reality) and VR (Virtual Reality) are immersive technologies that allow users to interact with digital content in a variety of ways. AR apps superimpose digital objects onto the real world, while VR apps create a completely artificial environment for the user to explore.
The advantages of AR and VR technology are numerous, including increased engagement, improved customer experiences, and even enhanced safety in certain industries (such as construction or healthcare). In this article, we will focus specifically on ARKit, an Apple development framework that makes it easy to create AR apps for iOS devices.
Step 1: Understanding Your Audience

The first step in building any app, whether AR or VR, is understanding your target audience. Who are you creating this app for? What are their needs and wants? By answering these questions, you can design an app that will resonate with your target audience and provide them with a positive user experience.
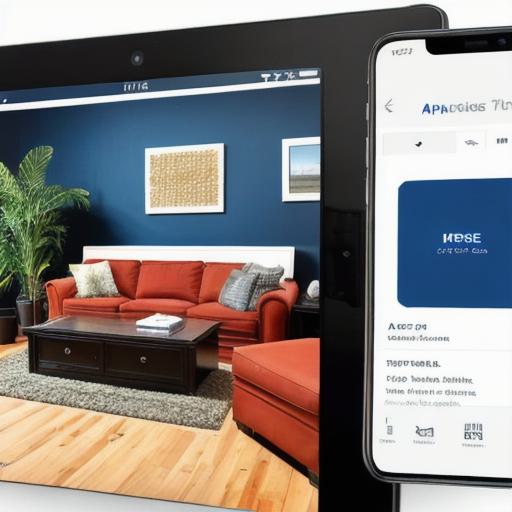
For example, let’s say you’re building an AR app for a home improvement store. Your target audience is likely to be homeowners who are looking to renovate or decorate their homes. In this case, your app could provide users with virtual tours of different home styles and design ideas, as well as the ability to visualize how furniture and other items would look in their home before making a purchase.
Step 2: Defining Your App’s Objectives
Once you have a clear understanding of your target audience, it’s time to define the objectives of your app. What do you want your app to achieve? Is it to increase sales, generate leads, or simply provide users with a fun and engaging experience? By defining your app’s objectives, you can create a roadmap for its development and ensure that it remains focused on achieving its intended goals.
For example, let’s say your app’s objective is to increase sales for the home improvement store. In this case, your app could include features such as virtual product demos, customizable room visualizations, and the ability to purchase products directly within the app.
Step 3: Choosing Your ARKit Tools and Technologies
ARKit provides a variety of tools and technologies that you can use to build your app, including:
- SceneKit: A 3D graphics engine that allows you to create and manipulate 3D models.
- Metal: A high-performance graphics API that allows you to optimize your app’s performance on iOS devices.
- ARCore: An AR development platform for Android devices that can be used in conjunction with ARKit.
- ARKit SDK: The core SDK for building AR apps using ARKit, which includes tools for creating and deploying AR experiences.
When choosing your ARKit tools and technologies, it’s important to consider factors such as performance, scalability, and ease of use. For example, if you need high-performance graphics, Metal may be the best choice. If you need cross-platform compatibility, ARCore may be a better option. And if you’re new to AR development, ARKit SDK may be the best place to start.
Step 4: Designing Your AR Experience
Once you have your tools and technologies in place, it’s time to start designing your AR experience. This involves creating a variety of assets


