How to Enable ARCore on Android: A Step-by-Step Guide
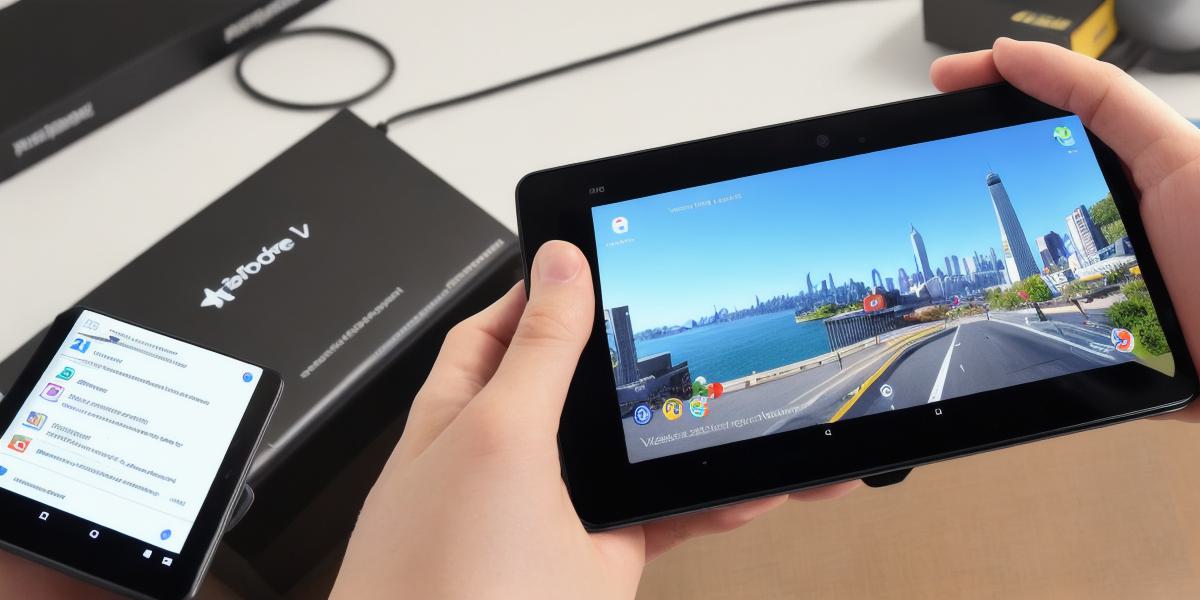
ARCore is a powerful augmented reality platform developed by Google for Android devices. With ARCore, you can create immersive and interactive experiences that blend the real world with virtual elements. In this article, we will guide you through the process of enabling ARCore on your Android device.
Prerequisites
Before you get started, make sure your Android device meets the following requirements:
- Operating system: Android 7.0 or later.
- RAM: At least 2GB.
- Processor: Qualcomm Snapdragon 835 or later.
- GPU: Adreno 510 or later.
Enabling ARCore on Your Device
To enable ARCore on your Android device, follow these steps:
Step 1: Download the ARCore SDK
The first step is to download the ARCore SDK from the Google website. Once you have downloaded the SDK, extract it to a folder on your computer.
Step 2: Install the SDK on Your Device
Next, connect your Android device to your computer using a USB cable and make sure it’s recognized by your computer. Then, navigate to the ARCore SDK folder and run the "platforms/android-xx/sdkmanager" script to install the SDK on your device.
Step 3: Configure Your Device for ARCore
After installing the SDK, you need to configure your device for ARCore. To do this, open the ARCore app and follow the prompts to enable ARCore and create a new project.
Creating Your First AR Experience
Now that ARCore is enabled on your device and you have created a new project, it’s time to start building your first AR experience. The following steps will guide you through the process:
Step 1: Create a New Scene
The first step is to create a new scene for your AR experience. To do this, open the Unity editor and create a new project in the ARCore template. This will generate a basic scene with a few objects and a camera.
Step 2: Add AR Components
Next, you need to add AR components to your scene. These components allow you to place virtual objects in the real world and track their position and orientation. To do this, drag an "AR Raycast Origin" component onto the ground object in your scene. This will create a raycast origin that the device can use to track its position and orientation.
Step 3: Add AR Objects
Now that you have added an AR raycast origin, you can add virtual objects to your scene. To do this, drag a few cube objects onto the ground object in your scene. Then, select each cube and add an "AR Renderer" component. This will render the cubes as 3D objects in the real world.
Step 4: Test Your AR Experience
Once you have added AR components to your scene, it’s time to test your AR experience. To do this, connect your Android device to your computer using a USB cable and select it in the ARCore app. Then, press the play button to see your AR experience come to life.
Troubleshooting Common Issues
If you are experiencing issues with ARCore on your Android device, there are a few things you can try:
Step 1: Check Your Device Specs
Make sure your device meets the minimum requirements for ARCore. If your device does not meet these requirements, you may need to upgrade it or download an alternative AR platform.
Step 2: Check Your Internet Connection
You May Also Like
“ARCore and LiDAR: A Comprehensive Guide for Developers”
January 23, 2024

Maximizing Your ARCore Development with This Comprehensive Guide
January 23, 2024
How to Enable ARCore: Step-by-Step Guide and Compatible Devices
January 23, 2024
More From Author

ServReality Brings Next-Gen Gaming Experiences to Apple Devices
January 23, 2026


The Top 25 Diamond and Pearl Pokémon
August 5, 2024


