How to optimize the storage on your macOS device

Some MacBooks and iMacs have limited storage space. It may be that your MacBook Pro or Air only has a 256 GB hard drive. There was a time when this would have been considered inconceivable, but 256 GB is no longer the huge amount of storage that used to be.
I have owned laptops with a 256 GB hard drive and I can attest that they fill up quickly. But if the operating system of the laptop is macOS, there is a practical trick that avoids delaying the filling of this space as much as possible. It is about Optimizing the storage, an integrated feature that helps to save space on the hard drive.
Optimize Storage can be used in conjunction with Store in iCloud and Empty the Recycle Bin automatically to prevent you from worrying that your hard drive will fill up too quickly.
A little rigor to start
Before you get carried away, you should know that you need to be a little strict about what you keep on your hard drive. But if you agree to store certain files (documents, photos and videos) on your iCloud account, the Optimize Storage function will play a role.
The macOS Storage Optimization feature automatically deletes the Apple TV movies and shows that you have already watched and only keeps the most recent email attachments when local storage space becomes problematic. Be aware that the Optimize Storage feature works on video media that you have purchased or rented through the Apple online Content Store and Apple TV+. This does not affect the videos that you have downloaded from finders or the one that you have created. Therefore, if you often watch movies or TV series on your macOS device, this feature is for you.
If you don’t buy or rent video media frequently, you can always turn to the other storage options (Store in iCloud and Empty the Recycle Bin automatically).
How to activate the “Optimize Storage” function
The only thing you will need is a device running macOS. The demonstration will be on a MacBook Pro, equipped with macOS Ventura 13.5.2. Make sure that your operating system is updated so that you have all the latest security patches and all the new features added by Apple.
1. Open the system settings
The first thing to do is to open the System Settings, from the Apple menu at the top left of your screen.
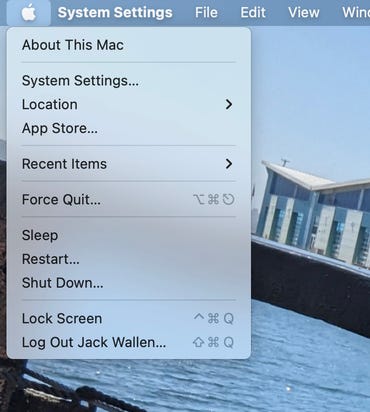
To access the system settings, you can either go through this menu or open it from the Launchpad. Screenshot by Jack Wallen/ZDNET
2. Open storage settings
In the System Settings window, click General in the left sidebar, then on Storage to access the option Optimize storage.
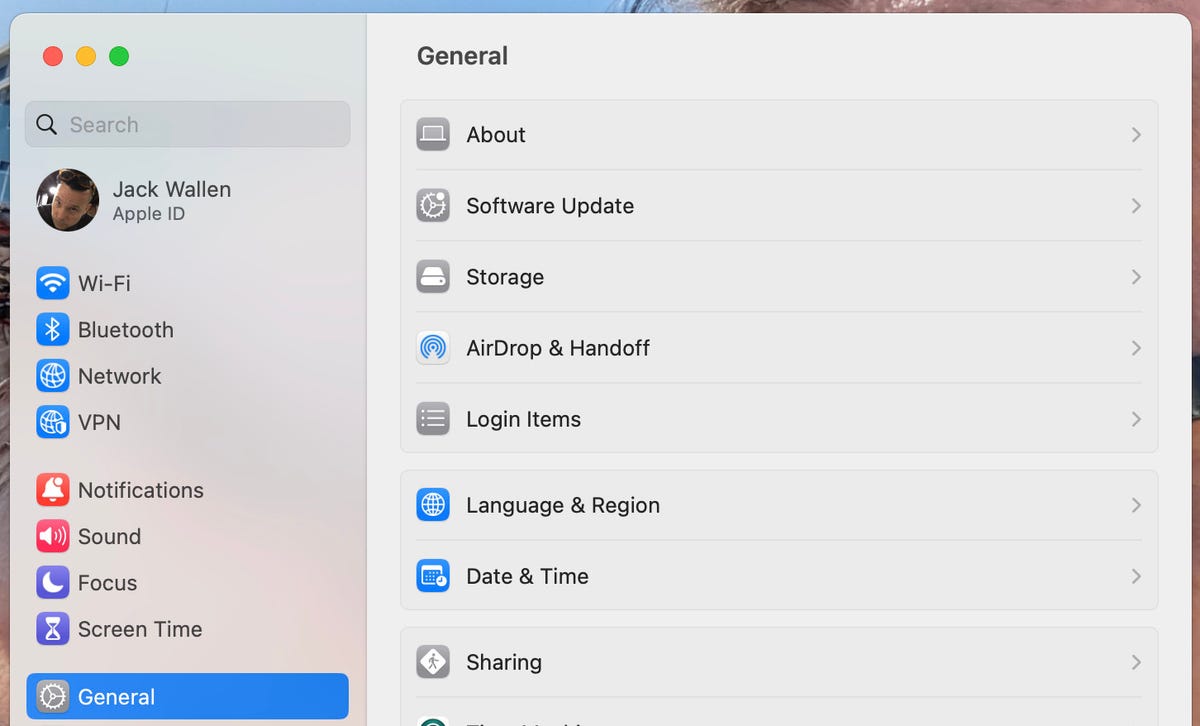
You will see the General option in the left navigation bar. Screenshot by Jack Wallen/ZDNET
3. Enable the Optimize Storage option
In the list of options, click on Optimize. A pop-up window will appear, asking you to accept the activation of the function. To do this, click on Optimize. Once you have done this, macOS starts to do its job. I noticed that the Apple TV+ was taking up 6.8 GB of storage space.
Once Optimize Storage has completed the initial dump of the video data, I have recovered this space. Of course, I only watch Apple TV+ on my laptop when I’m on vacation, so 6.5 GB is not a lot of space. If you watch a lot of Apple TV+ or if you rent and buy movies on the Apple content online store, you may find that there is more space to reclaim.
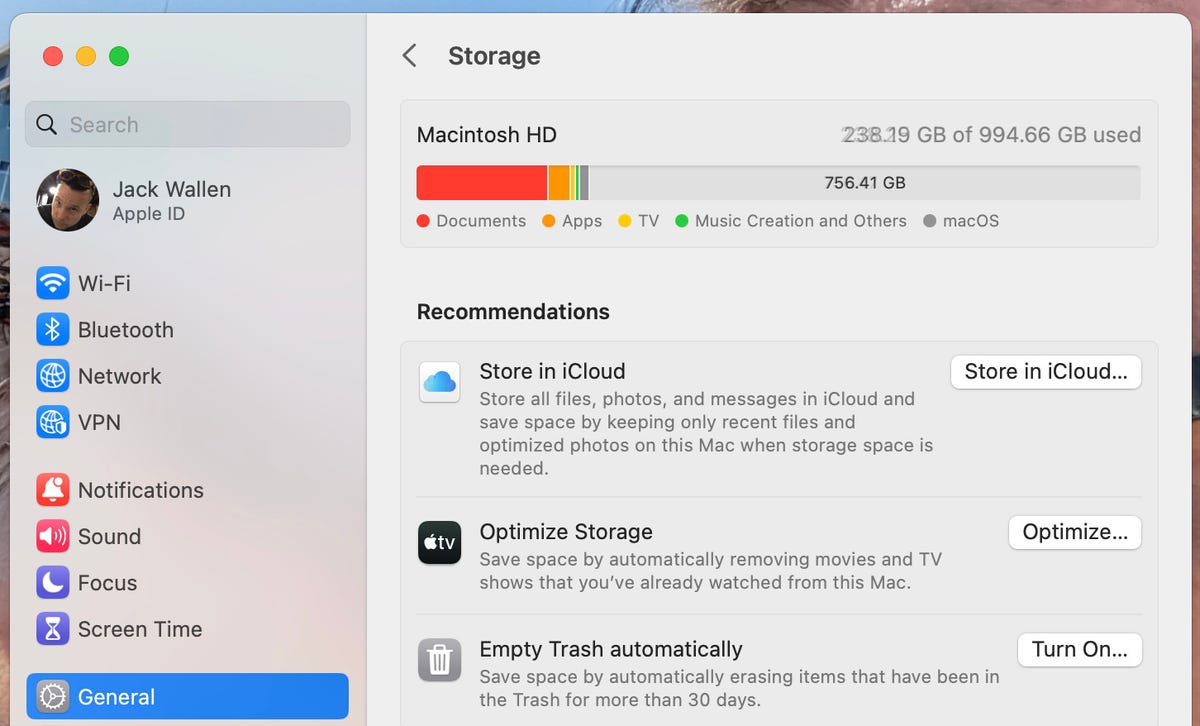
In this section, you can also activate the options Store in iCloud and Empty the Recycle Bin automatically. Screenshot by Jack Wallen/ZDNET
Remember that the TV shows and movies you have purchased can be downloaded again at any time.
That’s all there is to do to optimize the storage of your macOS device. If you buy or rent a lot of videos, this function will allow you to prevent the storage of your macOS device from being prematurely saturated.
Source: “ZDNet.com “
You May Also Like


More From Author

ServReality Brings Next-Gen Gaming Experiences to Apple Devices
January 23, 2026


The Top 25 Diamond and Pearl Pokémon
August 5, 2024


