Office automation: how to use different languages in LibreOffice

Javier Zayas Photography/Getty Images
I am an author. I have written almost 60 books, which cover a wide range of genres. I have sometimes written books with characters from different countries, which sometimes require different spellings. Currently, I am writing a series of romance novels and thrillers that includes two main characters, one American and the other Londoner.
In some cases, I have to use the spelling of American English, and in others, that of British English: for example, color for one and colour for the author.

Unless I change the language, LibreOffice will report the words that it thinks are misspelled according to the current language choice. Screenshot by Jack Wallen/ZDNET
As you might expect, my default language in is American English. When I use a British spelling for a word, LibreOffice marks it in the automatic spell checker. That’s fine, because I can always ignore this warning. But I like my manuscripts to be as clean as possible before sending them to the editor. This means that I want all spellings to be correct, regardless of the region.
Fortunately, LibreOffice allows me to define – by paragraph, if necessary – the language used. This means that if I have a passage in German, I can set the language used for this paragraph. If I have different regions for English, such as the UK and Australia, I can define these regions and be assured that LibreOffice will correct them accordingly, instead of assuming that everything I wrote is in American English.
I am aware that this feature has a limited usefulness, since not everyone needs to write in several languages or regions. But for those who need it, this feature is very convenient.
So here’s how to use it.
How to choose different regions and languages in LibreOffice
The only thing you will need for this method is an instance of LibreOffice running. The operating system you are using does not matter, because the process is the same. I’m going to do a demo using LibreOffice 7.6 on Ubuntu Budgie.
1. Open LibreOffice
The first thing to do is open LibreOffice. Once the software is open, you can either create a new document or open an already created document.
2. Access the language settings
Suppose you wrote the first paragraph in American English and you want the second paragraph to be in British English. If you do not change the language for the second paragraph, all British spellings will be marked by the spell checker.
To change the language of the second paragraph, highlight the paragraph (or section) to be edited, click the Language button in the lower status bar (at the bottom of the document) and click More to access the character settings.
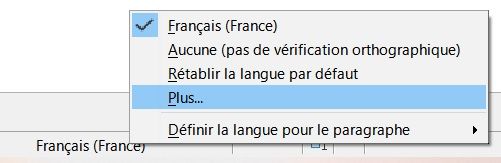
Once you have added another language/locale to a document, you will be able to quickly switch from one to the other from this context menu. Screenshot by Jack Wallen/ZDNET
3. Select your language
In the pop-up window that appears, click on the drop-down menu Language, select English (UK) from the list and click OK.
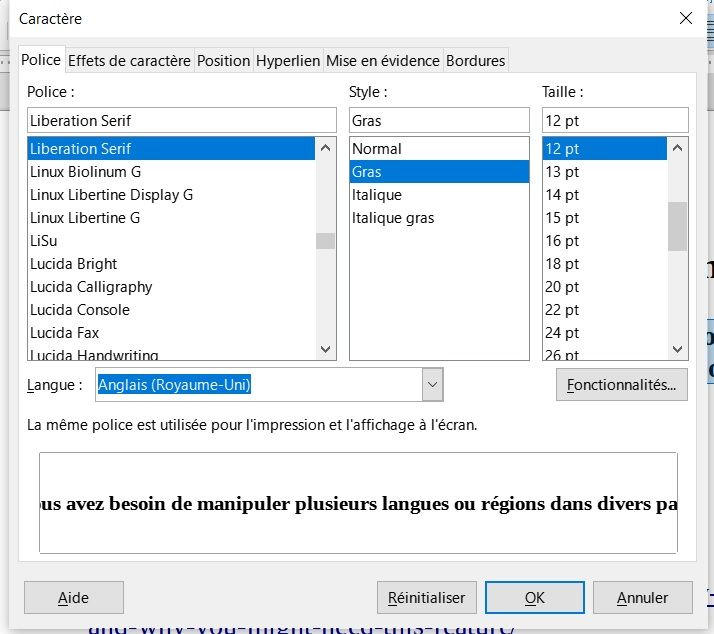
You can also edit other attributes for the selected passage here. Screenshot by Jack Wallen/ZDNET
Once you have clicked OK, the character settings pop-up window will disappear and you should find that British spellings are no longer marked by the spell checker.

The British spelling, colour, is no longer marked by the spell checker. Screenshot by Jack Wallen/ZDNET
That’s all it takes to have different languages represented in your LibreOffice documents. This feature has been useful to me several times and I hope that it will also help you to create richer and more complex documents including several languages and localizations.
Source: “ZDNet.com “
You May Also Like


More From Author

ServReality Brings Next-Gen Gaming Experiences to Apple Devices
January 23, 2026


The Top 25 Diamond and Pearl Pokémon
August 5, 2024


